
A loose CNC or automation axis is not proof that the lock nut has failed. By isolating axial, radial, and reversal movement, then matching the replacement to the shaft thread, bearing stack, locking method, and preload specification, you can determine whether a nut replacement will restore the assembly or whether the fault lies elsewhere.
Key takeaways
- Measure movement at the shaft or bearing housing before removing the nut.
- Separate axial play, backlash and radial movement before choosing a replacement.
- Match the lock nut to the complete shaft, thread and bearing stack.
- Record batch, thread, dimensions and preload so the next failure is traceable.
Start with the movement, not the lock nut
A dial indicator can identify the moving interface before you remove the nut. Lock out the machine, release stored energy, and measure movement at the shaft or bearing housing rather than at the handwheel or servo position.
- Apply the indicator axially and reverse the shaft load by hand. Record total indicator movement. Movement that appears between the shaft shoulder, bearing stack, spacer, and nut points to axial clamping loss.
- Repeat the test radially at the shaft and bearing housing. Radial movement implicates a bearing, housing seat, shaft journal, guide, or coupling; tightening a lock nut will not correct it.
- Reverse the ballscrew under controlled load and compare commanded travel with actual travel. A reversal gap indicates ballscrew or ball-nut backlash, loose end-support bearings, or control error rather than a loose nut.
- Mark the nut and shaft with a witness line, then observe whether the nut turns on its thread during load reversal. Inspect fretting, polished contact bands, displaced spacers, and damaged threads before disassembly.
A lock nut for motion assemblies in Pune is a credible suspect only when the measured axial play originates at its bearing-facing interface. Record indicator readings, test direction, shaft location, and temperature; give those measurements to the supplier with the complete assembly details.
Separate axial play from backlash and radial movement
A lock nut can remove axial looseness only when play comes from a loose nut-to-bearing interface or compressed spacer stack. Replacing it restores clamping force. It cannot repair ballscrew backlash, radial movement from a bearing seat or guide carriage, or coupling clearance; adding preload can hide those faults briefly while damaging bearings or screw raceways.
Use this fault-isolation checklist:
- Lock out the machine and place a dial indicator against the shaft or bearing end face.
- Apply and reverse an axial load. Indicator movement identifies axial stack play at the nut, bearing, spacer, or shaft shoulder.
- Position the indicator radially and repeat the load test. Radial movement points to a worn bearing, enlarged housing, damaged shaft seat, or loose guide carriage.
- Reverse the ballscrew under controlled load and measure lost motion separately. This exposes backlash in the ball nut, screw raceways, end-support bearings, or servo settings.
- Inspect witness marks and check whether the lock nut turns on its thread. Rotation confirms a retention failure; it does not prove the nut caused every measured movement.
For industrial precision lock nuts in Pune, replace the nut only after teardown measurements confirm the failed interface. If the screw, bearing seat, ball nut, or housing is worn, repair that assembly instead.
Match the locking method as well: a KM nut with washer and keyway is not interchangeable with a friction-locking design without checking the shaft groove, thread, and installation procedure.
Match the replacement to the complete shaft and bearing stack
A replacement fits only when it matches the complete shaft, bearing, spacer, and shoulder stack—not just the nominal shaft diameter. Measure the shaft diameter, usable thread length, bearing-stack width, spacer length, shoulder diameter, and the location of the measured axial play before ordering a precision lock nut replacement in Pune.
Check each item against the removed part and the assembly drawing:
| Item | Confirm | Failure if mismatched |
|---|---|---|
| Thread | Designation, pitch, form, hand, tolerance class, and engagement length | A metric fine, metric coarse, trapezoidal, or proprietary thread with the same diameter will not interchange |
| Nut geometry | Outside diameter, width, bearing-facing shoulder or flange, spanner or hook-wrench engagement | The nut may foul the housing, fail to contact the inner ring, or run out of adjustment |
| Retention | KM-style nut with lock washer and shaft keyway, or self-locking/friction-locking type | The wrong system needs a different groove, keyway, thread length, or fitting procedure |
| Material and accuracy | Material, hardness, allowable face and radial runout | A soft nut can deform; excessive runout can tilt the bearing stack |
| Included parts | Washer, spacer, key, or retaining element supplied with the nut | Missing hardware changes stack height and preload |
Match the nut to the bearing arrangement and target preload. Ask for the supplier’s installation torque or preload method for that exact combination; lubrication and surface finish can make a generic torque value misleading. A catalogue code alone is not a complete specification.
Install preload under control and verify it at operating temperature
A precision lock nut must be tightened to a specified preload, not until the bearing merely feels tight. Excessive tightening increases friction and heat; insufficient tightening leaves axial movement and fretting.
Use this installation sequence:
- Lock out the machine and clean the shaft thread, nut thread, bearing shoulder, and contact face. Remove burrs without altering the thread profile.
- Check that the nut runs freely by hand and seats fully against the correct spacer or bearing ring. Do not force a tight spot with a wrench.
- Inspect the nut face with a dial indicator. Face runout or a damaged contact surface can tilt the inner ring and create uneven preload.
- Apply the lubricant specified for the exact nut-and-bearing combination, then use the supplier’s torque or preload method. Do not substitute a generic torque table.
- Engage the locking system correctly. Replace a bent lock-washer tab, and do not fit a keyed KM nut to a shaft without the matching keyway.
After tightening, measure shaft or bearing runout before reconnecting the drive. Rotate the assembly through several revolutions; a changing reading points to tilt, dirt, or a damaged seating surface rather than a loose nut. Run the machine until the shaft, bearings, spacer, and nut reach normal operating temperature.
Recheck drag torque, temperature, axial displacement, and runout against the machine builder’s limits. A room-temperature pass does not prove correct preload at speed.
Specify the replacement so the next failure is traceable
Give the supplier the removed nut, a dimensioned drawing, or measured thread-and-stack data—not just the shaft’s nominal diameter.
Whether you contact Balaji Engineering Works or another precision lock nut manufacturer for replacement parts in Pune, state the shaft thread, bearing arrangement, and required locking method so a visually similar nut does not enter your spares cabinet.
- Thread diameter, pitch, form, hand, tolerance or class, usable engagement length, and thread condition
- Nut width, face geometry, shoulder clearance, and spanner or hook-wrench engagement
- Bearing arrangement, bearing stack width, spacer length, shaft shoulder dimensions, and available thread length
- Required locking method, such as friction-locking or keyed washer retention, including keyway and washer-tab dimensions
- Measured axial play, installation torque or specified preload, and the inspection limits for thread damage, face runout, and nut runout
Retain these records against the machine asset number and replacement date:
- Original nut code, supplier drawing revision, batch or lot number, and replacement part code
- Before-and-after axial and radial play readings, measured with the same indicator setup
- Installation torque or preload method, lubricant used, bearing temperature, and technician’s name
- Post-installation runout, witness-mark photographs, and the machine’s operating hours when the failure occurred
Record why the nut was replaced. If the next failure shows a worn shaft thread, bearing seat, or ball-screw component, the history will stop another lock nut from being fitted to the wrong fault.
Related product
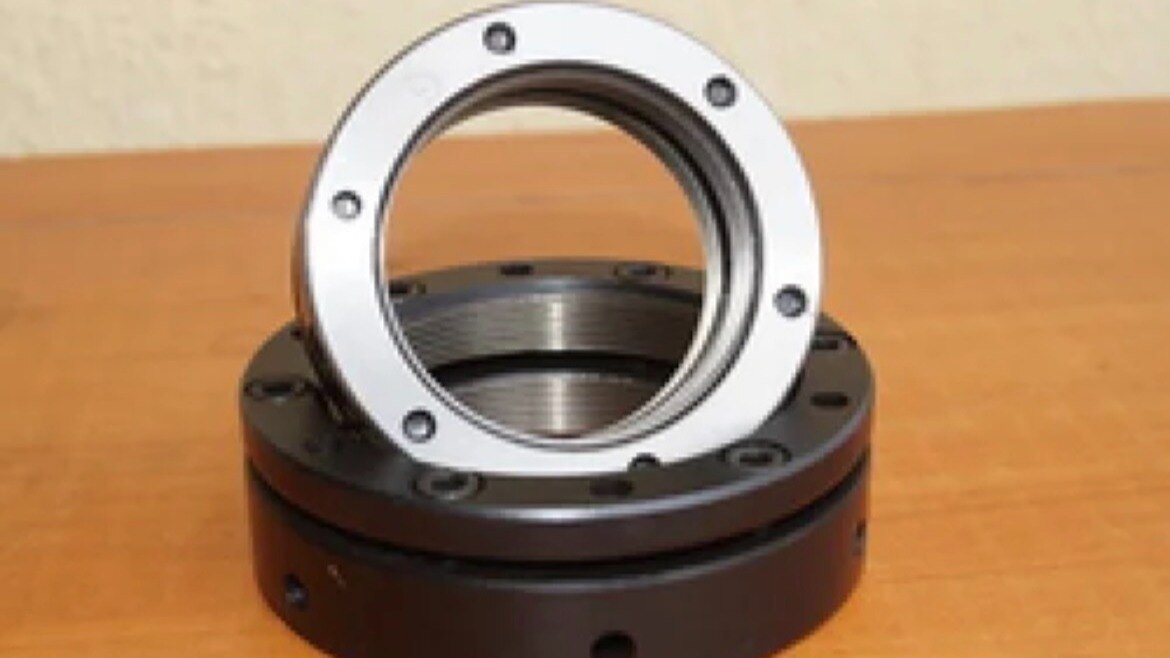
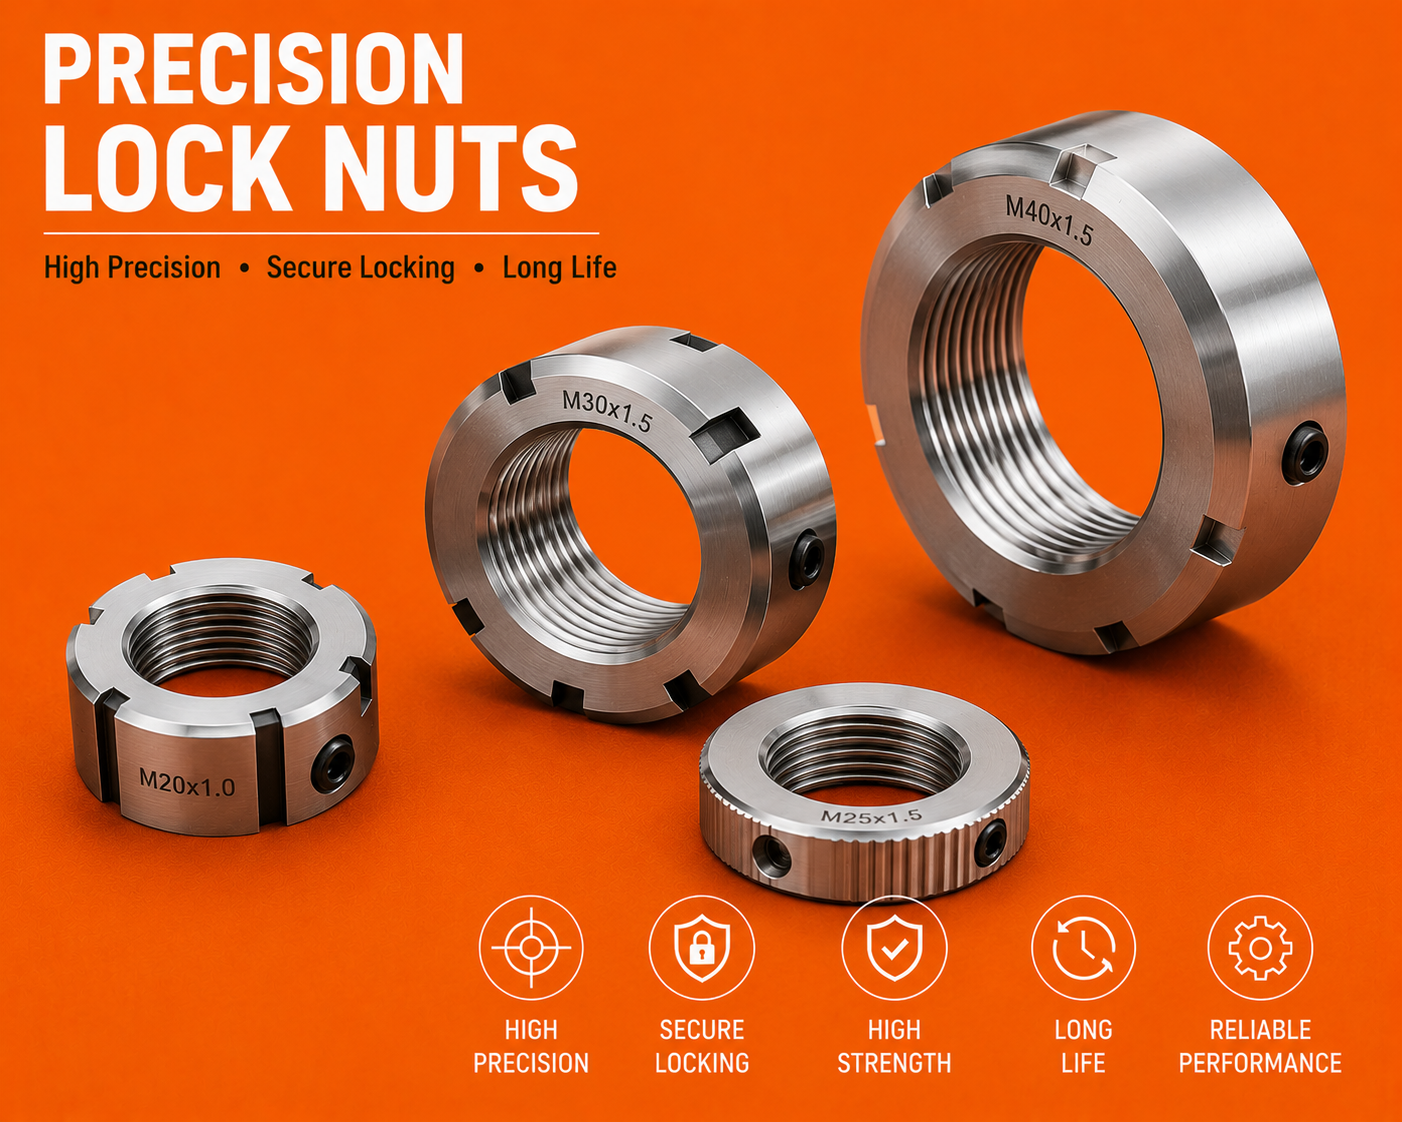 | Precision Lock Nuts Balaji Engineering Works is a leading supplier of Precision Lock Nuts, designed to provide secure locking and prevent loosening under high vibration... View product → |
Frequently asked questions
How can you identify what is moving in a loose motion assembly?
Lock out the machine, release stored energy, and use a dial indicator at the shaft or bearing housing rather than the handwheel or servo position.
How do you distinguish axial play from backlash and radial movement?
Measure movement in the relevant direction at the shaft or bearing housing, then compare the result with the drive and bearing arrangement to identify the moving interface.
What must match when replacing a precision lock nut?
Check the complete shaft and bearing stack, including thread form and size, nut dimensions, bearing arrangement, spacers, shoulders and available thread engagement.
How should you install and verify a lock nut?
Apply preload under controlled conditions, confirm the setting with the specified method, and recheck movement after the assembly reaches operating temperature.
What information makes a replacement lock nut traceable?
Record the machine, shaft location, thread specification, nut dimensions, material or finish, supplier, batch number, installation torque or preload and inspection results.